
Winter on the Homestead - Newsletter #4
Is it really time to rest?

Winter on the homestead is a blessing and a huge curse. One one hand, I’m not scrambling to get new plants into the ground, harvesting and rotating out depending on how hot or cold its going to be getting. Many think of winter as a time frame where you aren’t as busy. In some respects I agree but on the other hand
Winter sucks however, there are many things that can be done and I’m going to attempt to list them out. Slowing down is important, but at the same time, there are things you can take advantage of because you aren’t heads down in your production of food.
Keeping water from freezing for your animals
As I have stated in previous posts, water = life. Without it, you don’t have life to support. Thankfully all of our well and plumbing stays thawed (for the most part) Keeping our chickens water thawed on the other hand…is another story. What’s funny is all we have right now are chickens…45 of them to be exact. I can only imagine as you expand to larger and more animals, the challenge with water becomes more difficult.
What do we do and what do I recommend? Well for a quick fix, the heated chicken waterers work wonders. None of them are very big though so you have to walk and fill them up frequently. You can see our setup below. One heated and one regular.
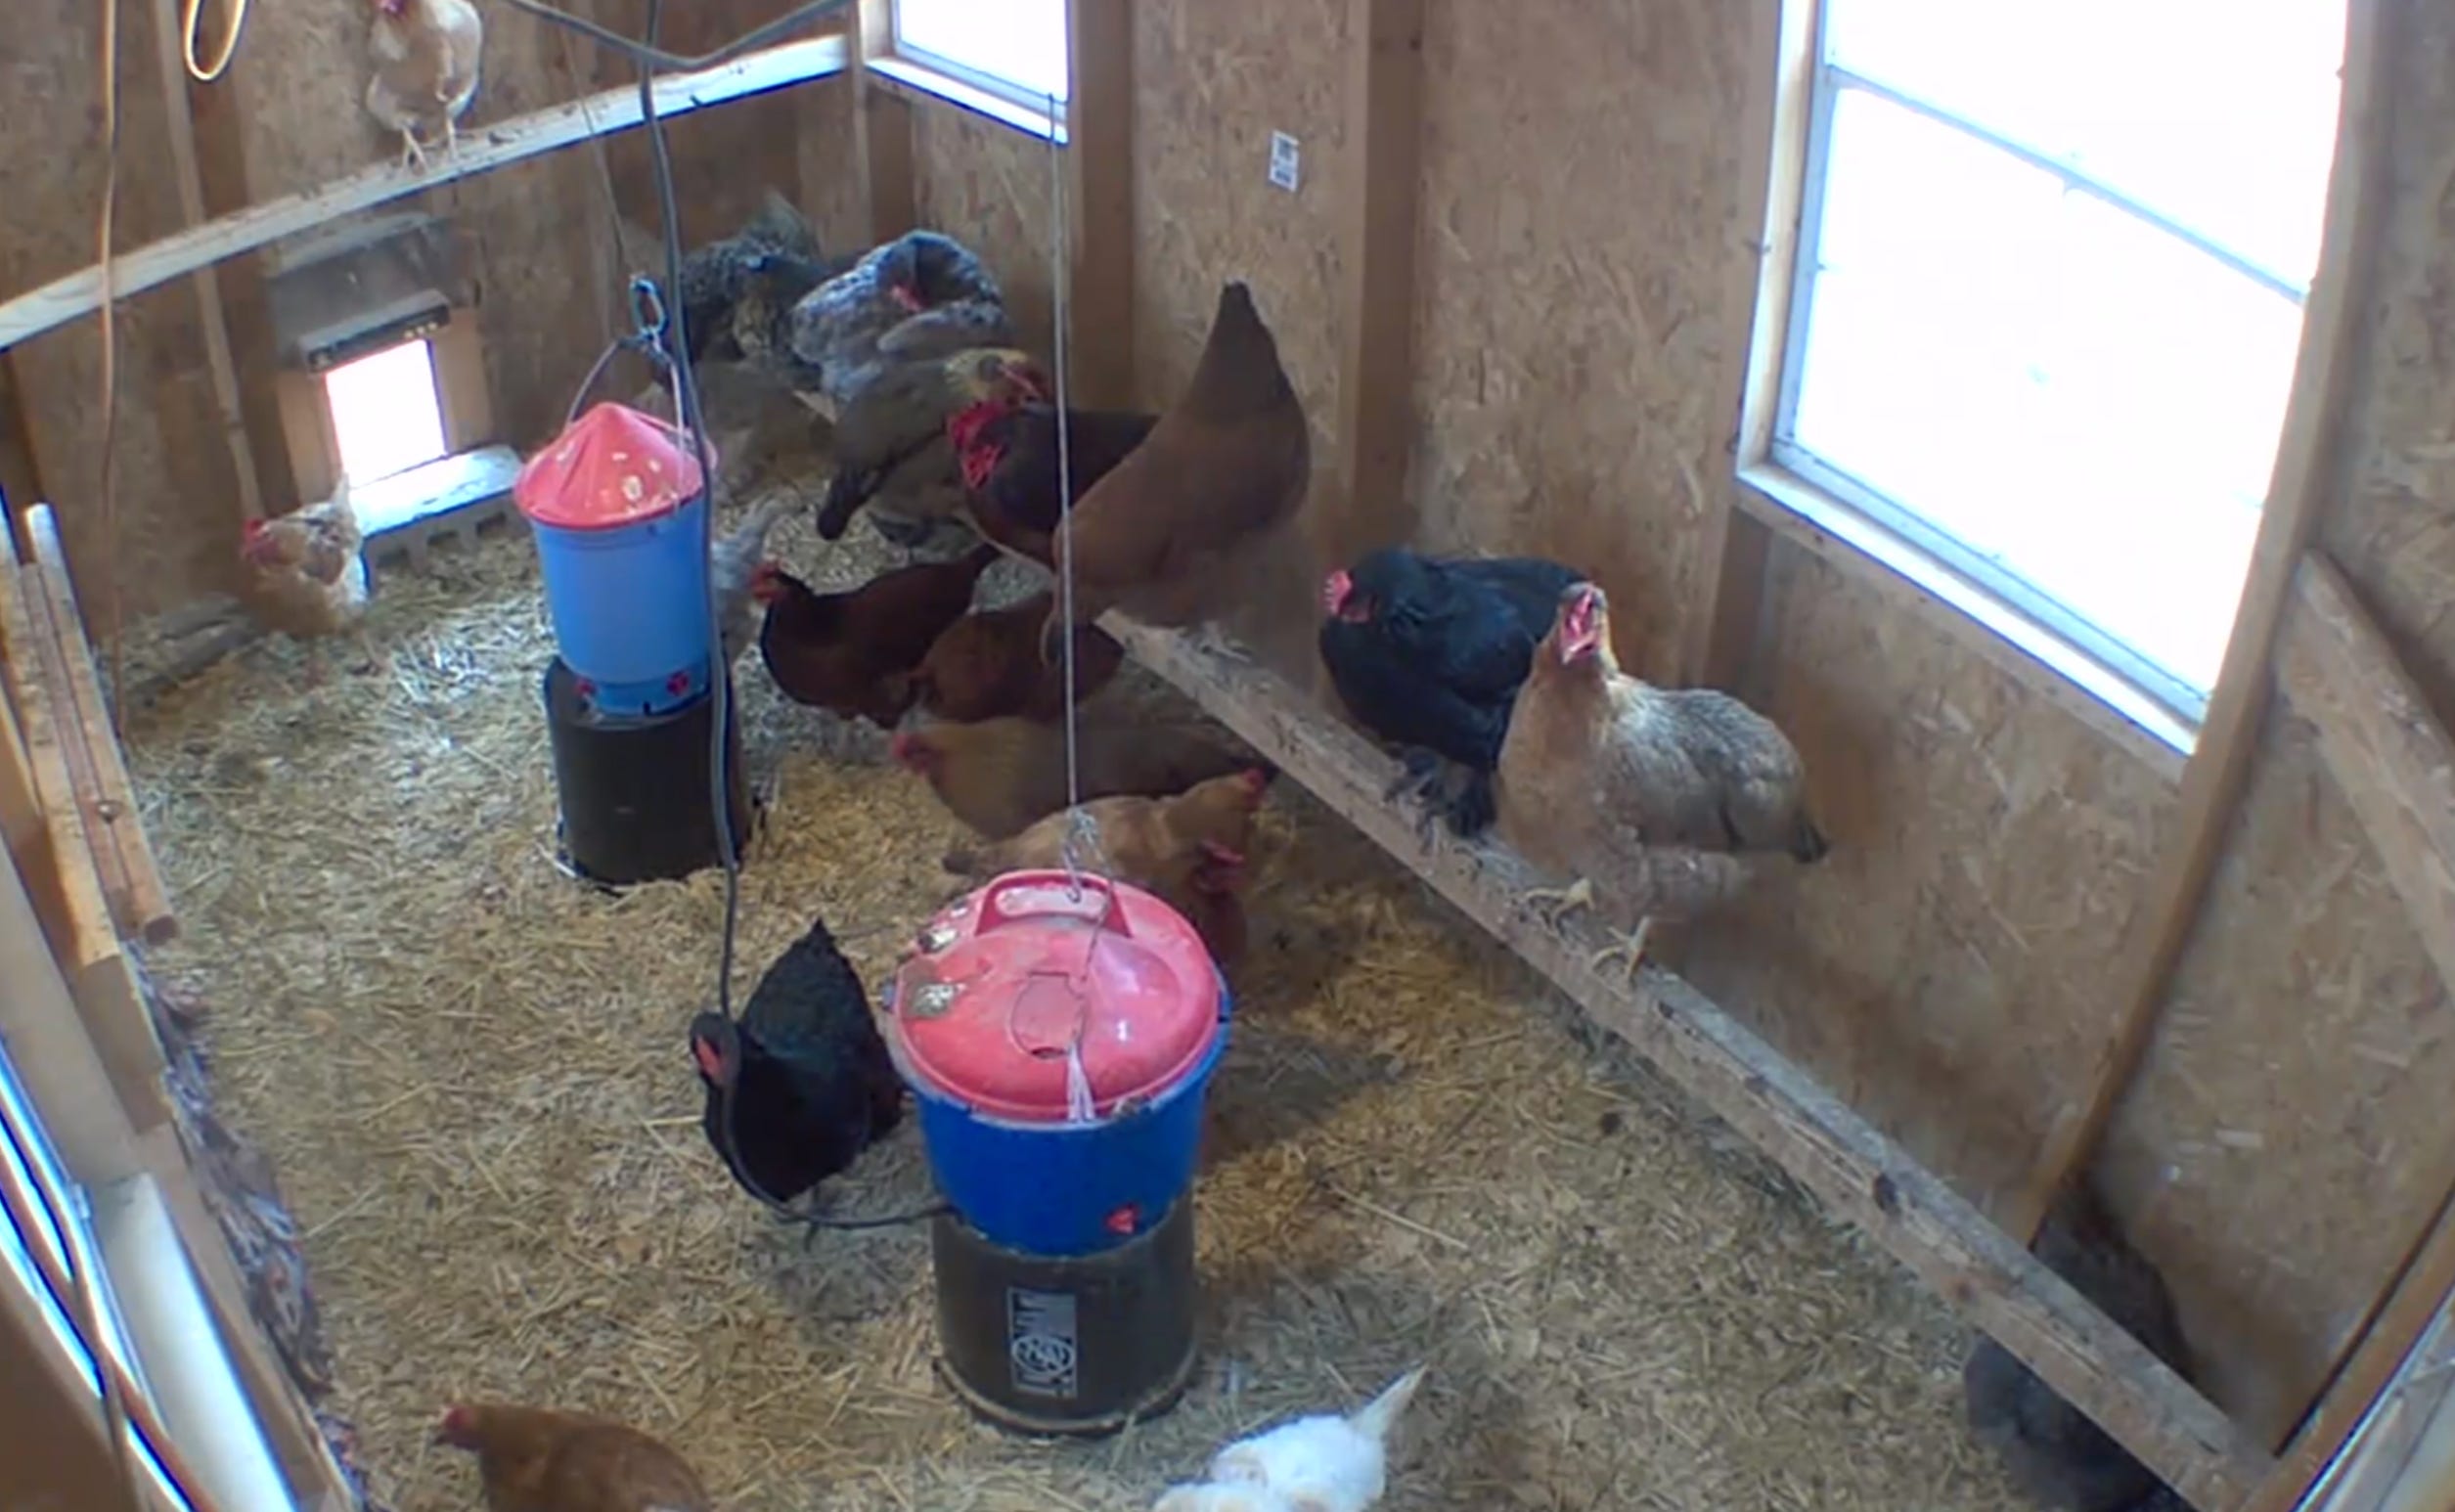
I’ve tried just about every single heated chicken waterer out there. The most robust one I have utilized with a nice detachable cable (can be used during all seasons!) is the Premier1 3 Gallon waterer. (affiliate link) This one utilizes the least amount of energy and feels like it has thicker walls to keep the heat in.
Microgreens Production
This is something I enjoy getting back up and running during the winter. Microgreens not only have a pluthera of health benefits for us humans but is also great to feed your animals during the winter when there isn’t anything to forage on. Microgreens are nutrient-dense, flavorful greens that pack a punch of vitamins, minerals, and antioxidants, making them a powerhouse addition to any diet. These tiny plants, harvested shortly after they sprout, contain up to 40 times more nutrients than their mature counterparts, depending on the variety.
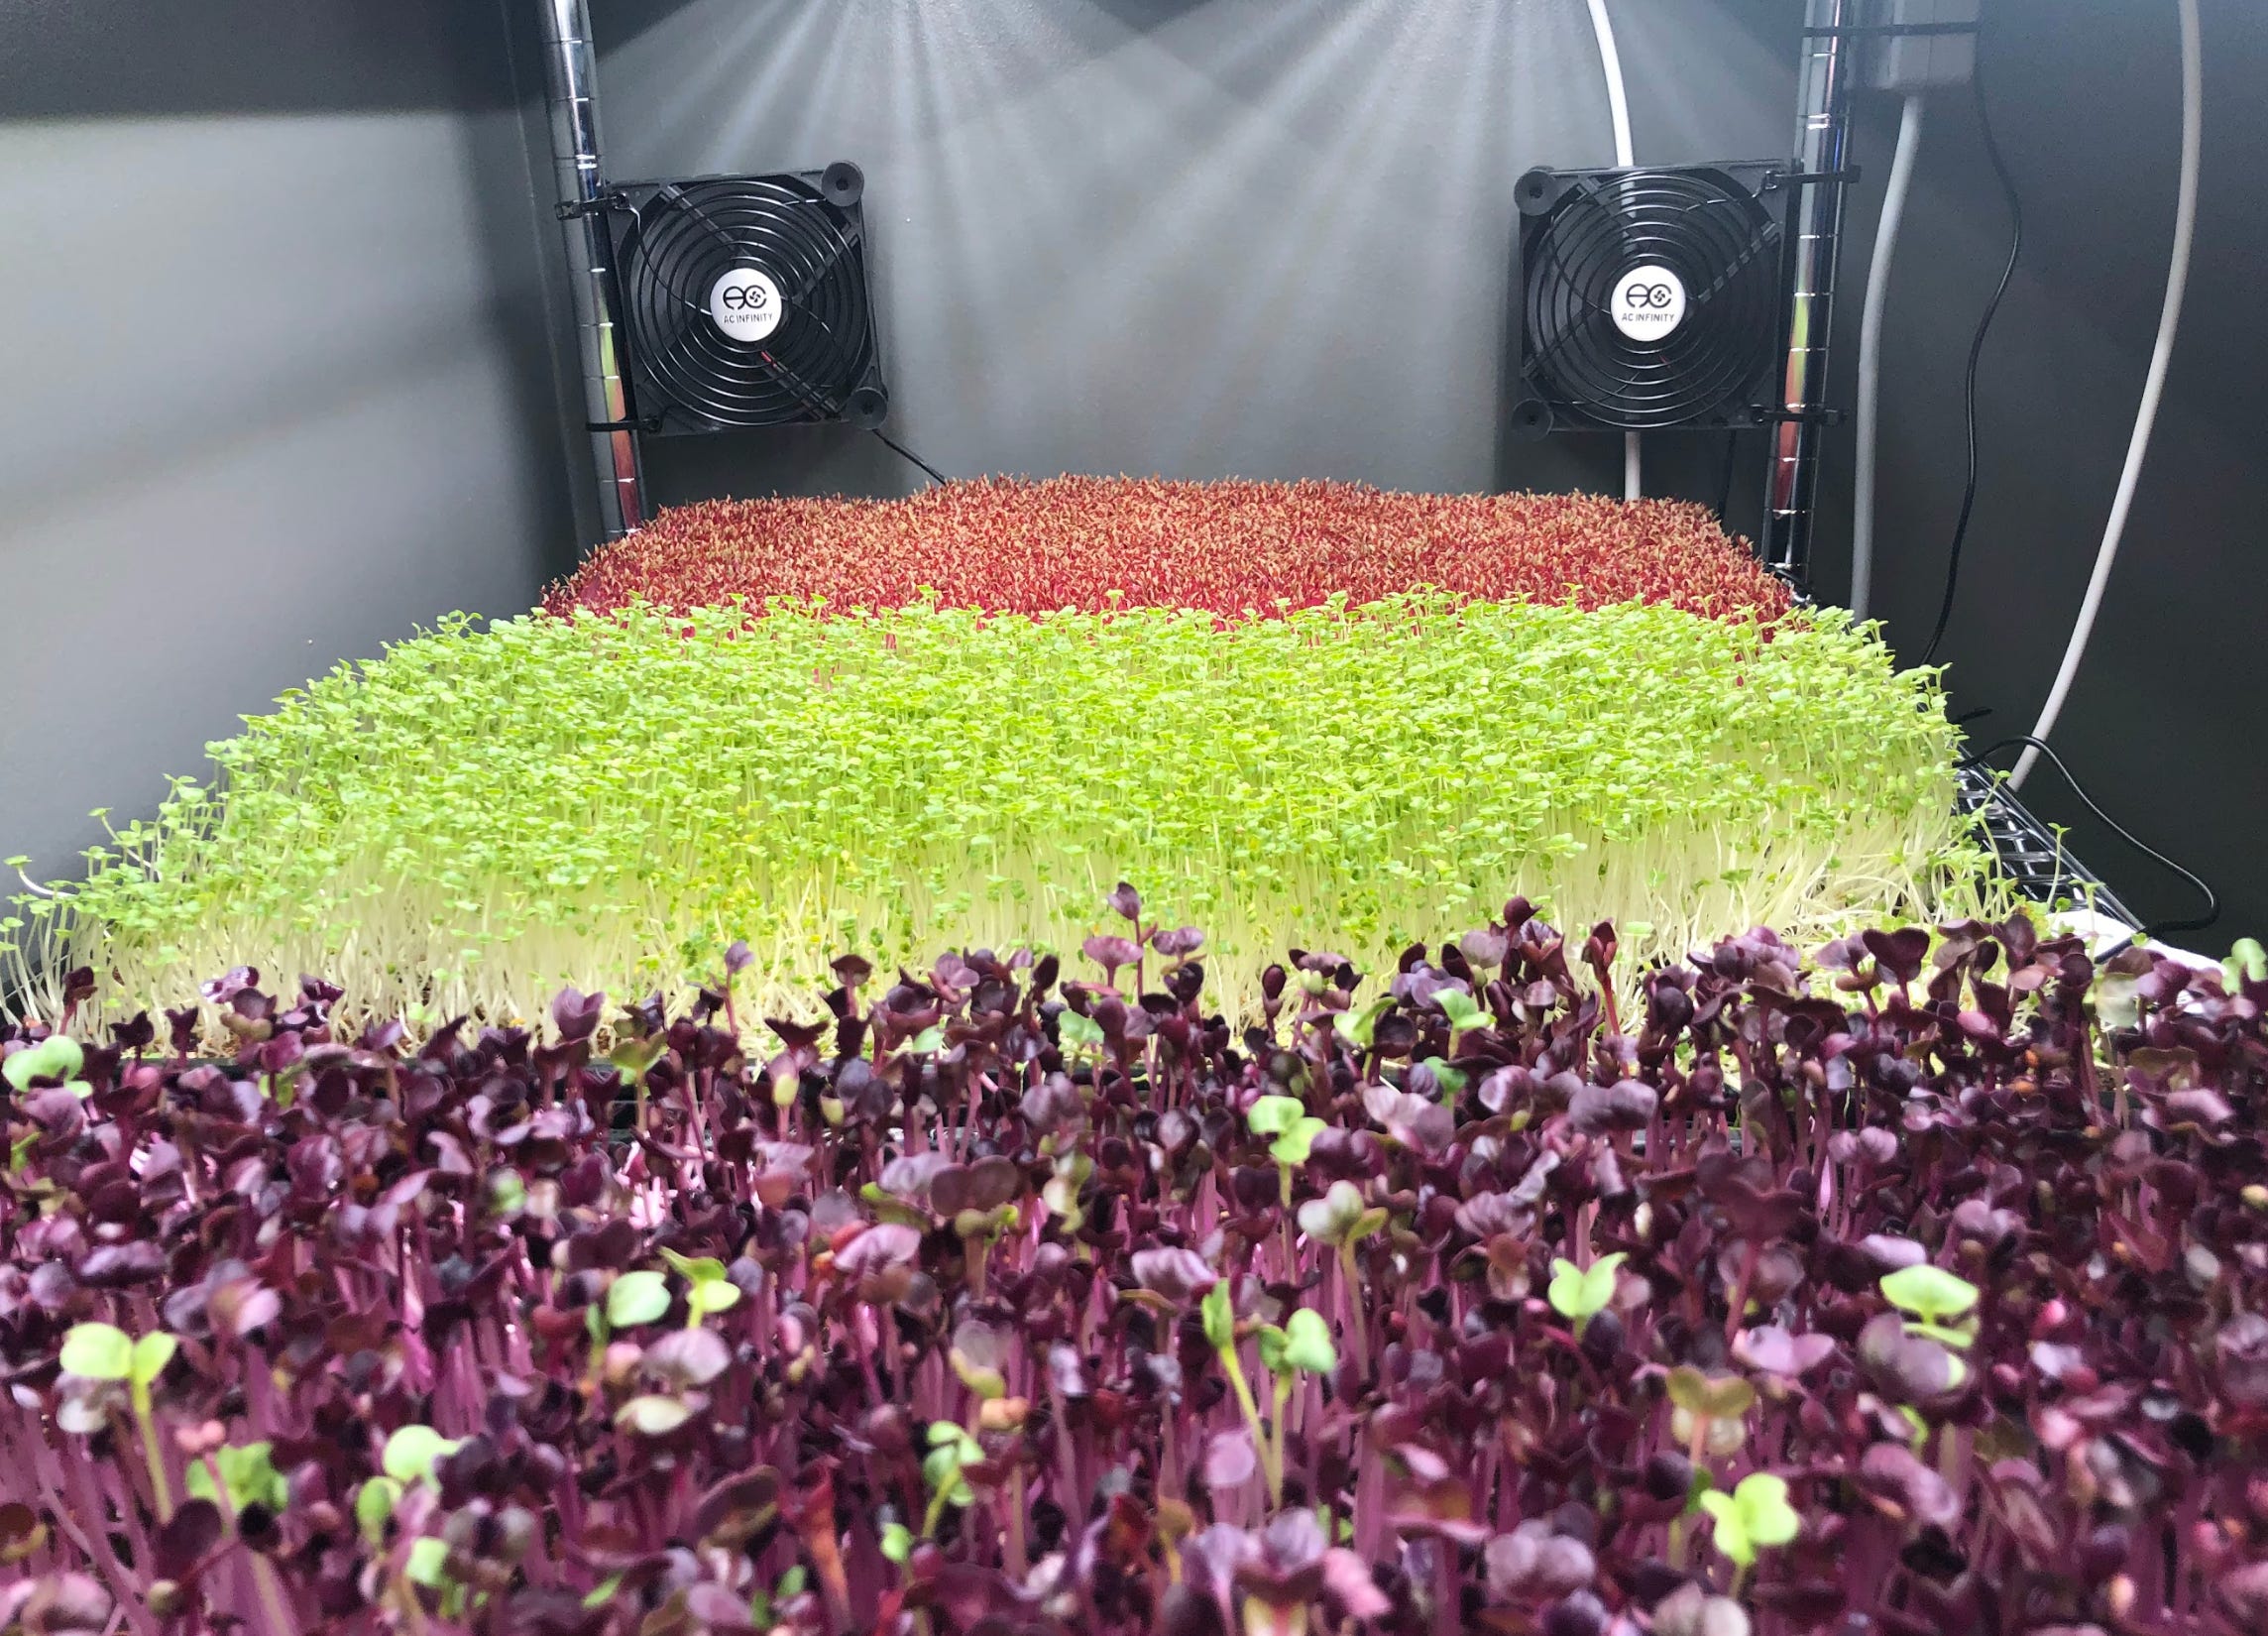
Microgreens are also incredibly easy to grow, requiring minimal space, light, and resources, which makes them an excellent choice for beginners and urban dwellers. With just a small tray, soil, or a growing mat, and some seeds, you can start cultivating your own microgreens indoors within 7-14 days.
Not only can you use this setup for microgreens, as you get closer to sprig you can begin to start your seeds indoors with this setup!
Time to get those herbal remedies started!
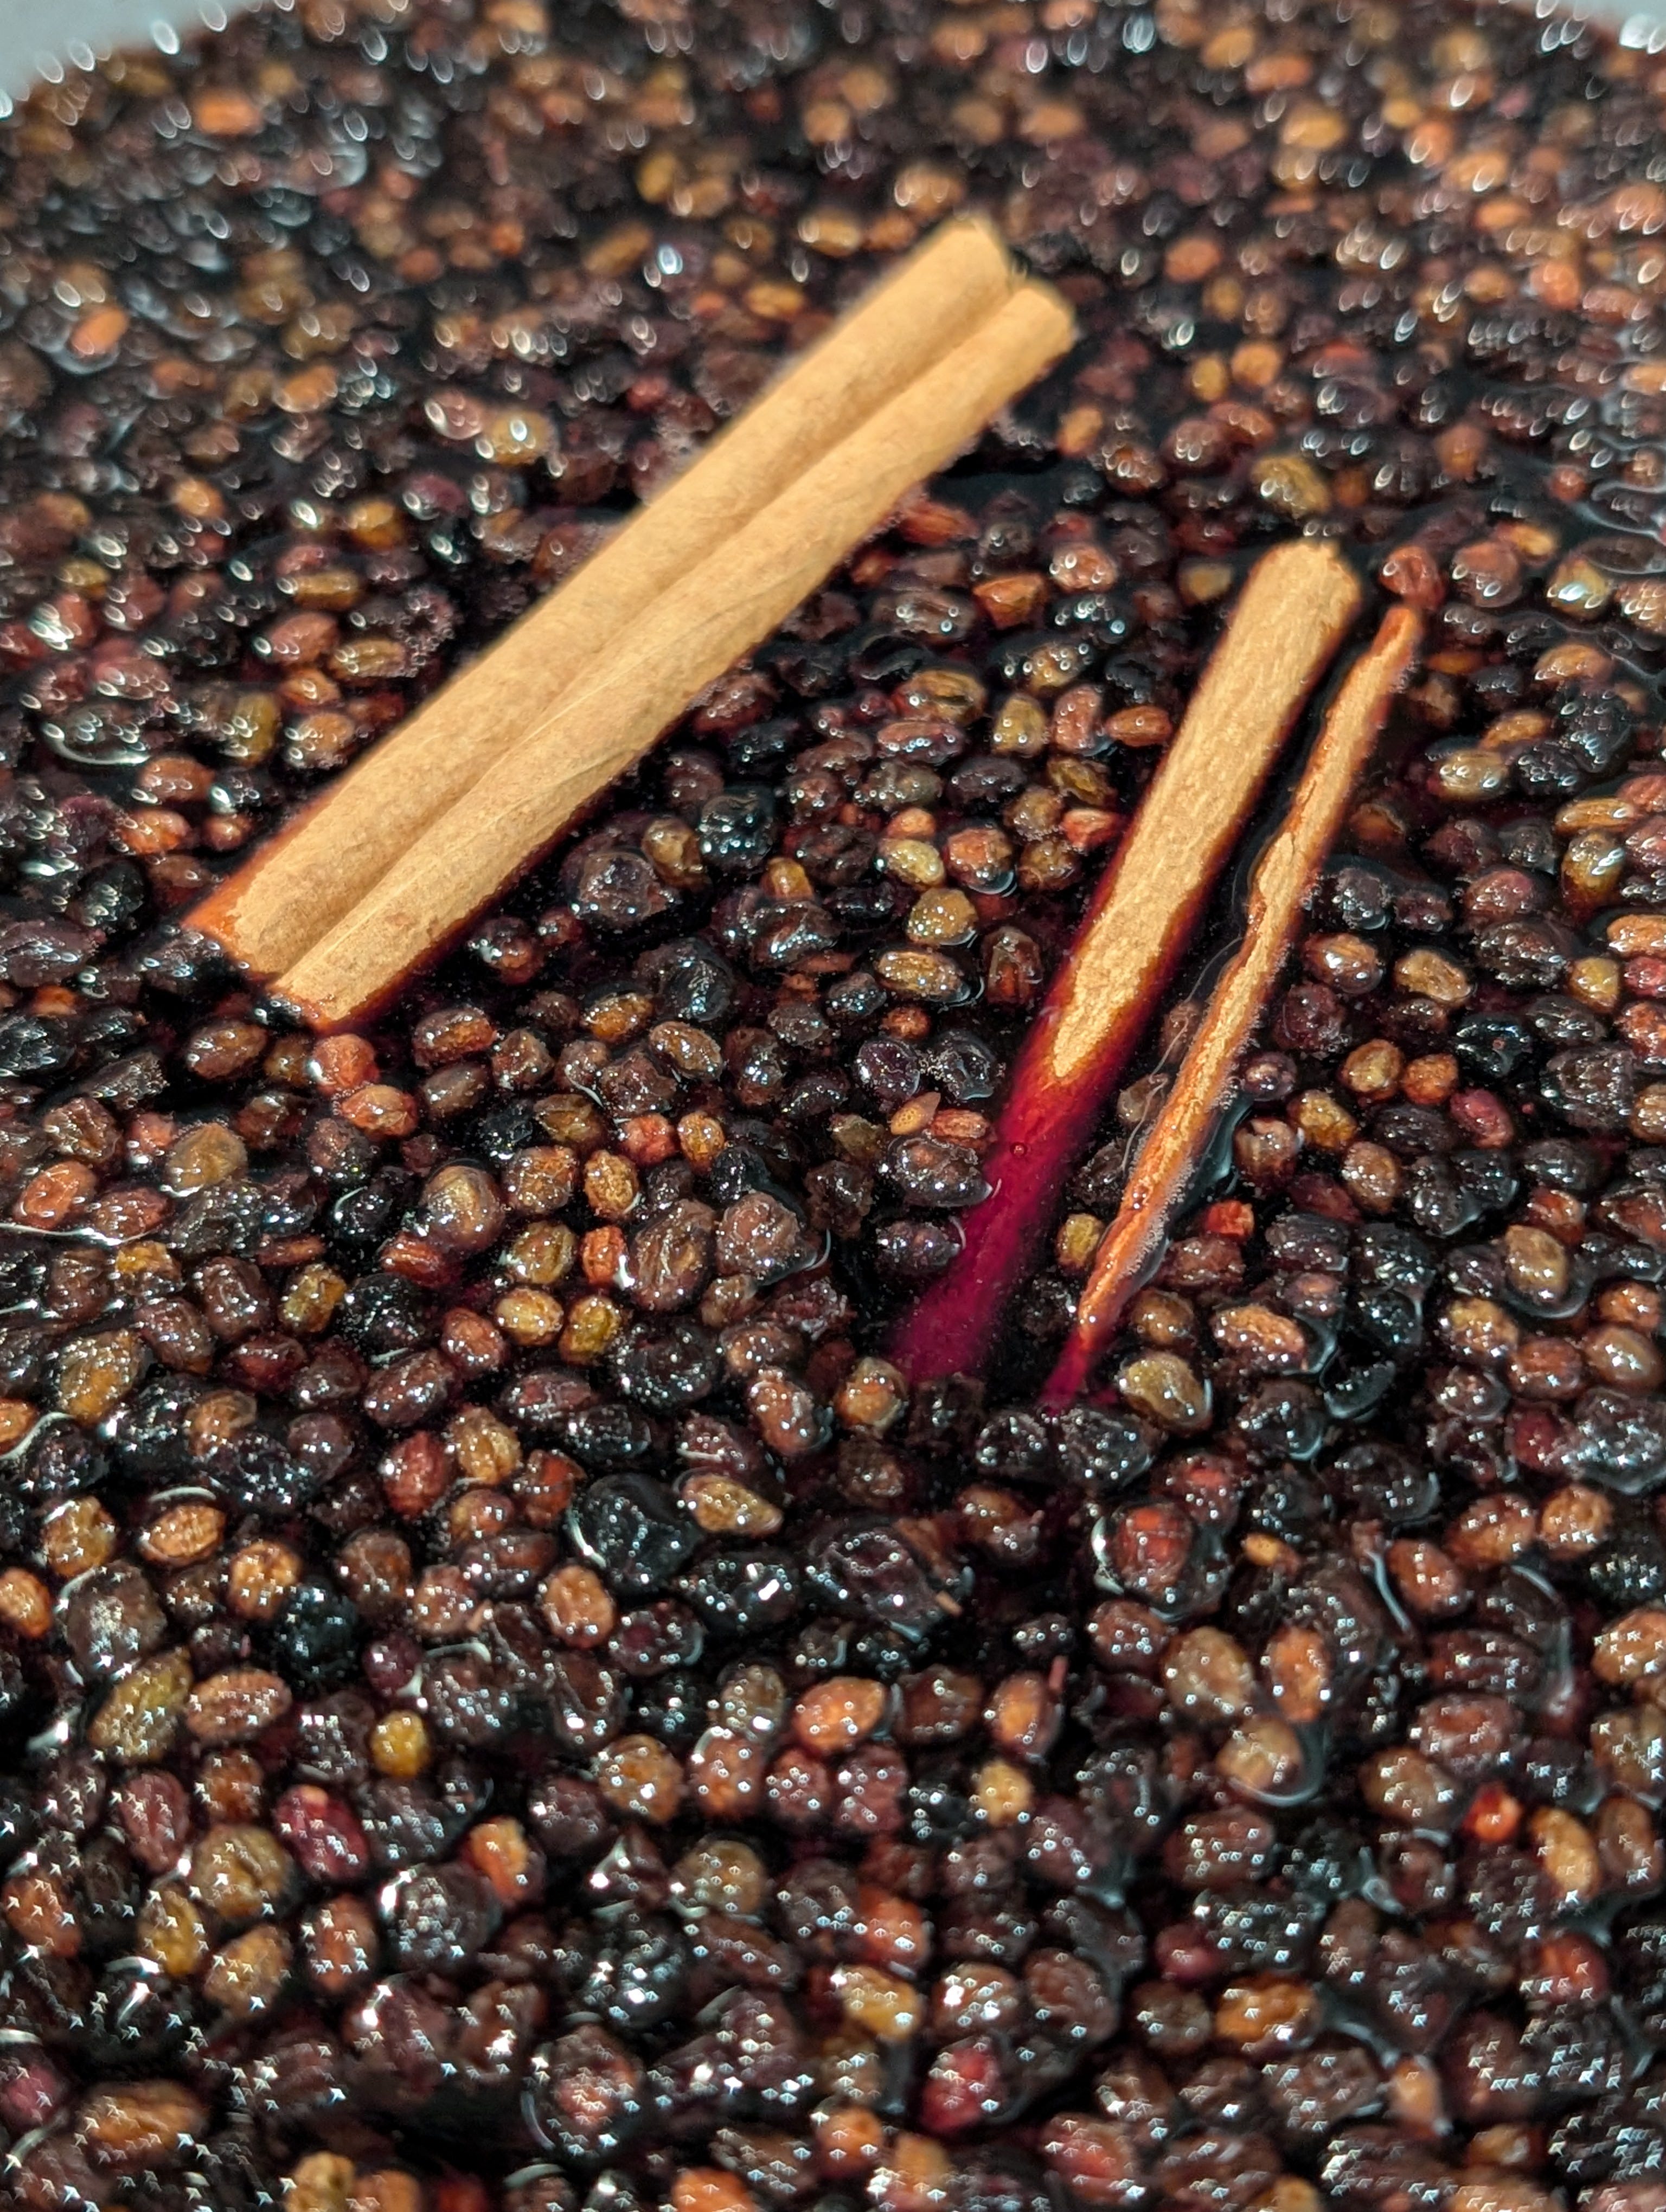
The number one thing I immediately begin work on is Elderberry Syrup. Take those berries that you harvested and froze and start consuming that honey. Need a good recipe for Elderberry Syrup, look no further!
Ingredients:
1 cup dried elderberries (or 2 cups fresh)
4 cups water
1 cinnamon stick (optional)
3-4 whole cloves (optional)
1-2 slices of fresh ginger (optional)
1 cup raw honey (or adjust to taste)
Instructions:
Simmer the elderberries: In a medium saucepan, combine the dried elderberries, water, and any optional spices (cinnamon, cloves, ginger). Bring to a boil, then reduce heat and let simmer uncovered for about 45 minutes, or until the liquid reduces by half.
Strain the mixture: Remove the saucepan from heat and allow the mixture to cool slightly. Strain the liquid through a fine mesh strainer or cheesecloth into a bowl, pressing the elderberries to extract all the juice. Discard the solids.
Add honey: Once the liquid has cooled to warm (not hot), stir in the raw honey until fully dissolved. Adjust sweetness to your preference.
Store: Pour the syrup into a clean glass jar or bottle with a tight-fitting lid. Store in the refrigerator for up to 2-3 months.
Lastly, you need to plan for future months! I’ve found that drawing designs and planning when I’m going to start seeds is the best possible use of your down time. Enjoy it and don’t feel rushed when it comes to spring time!